
Plumber's Hub
Plumber's Training Deck
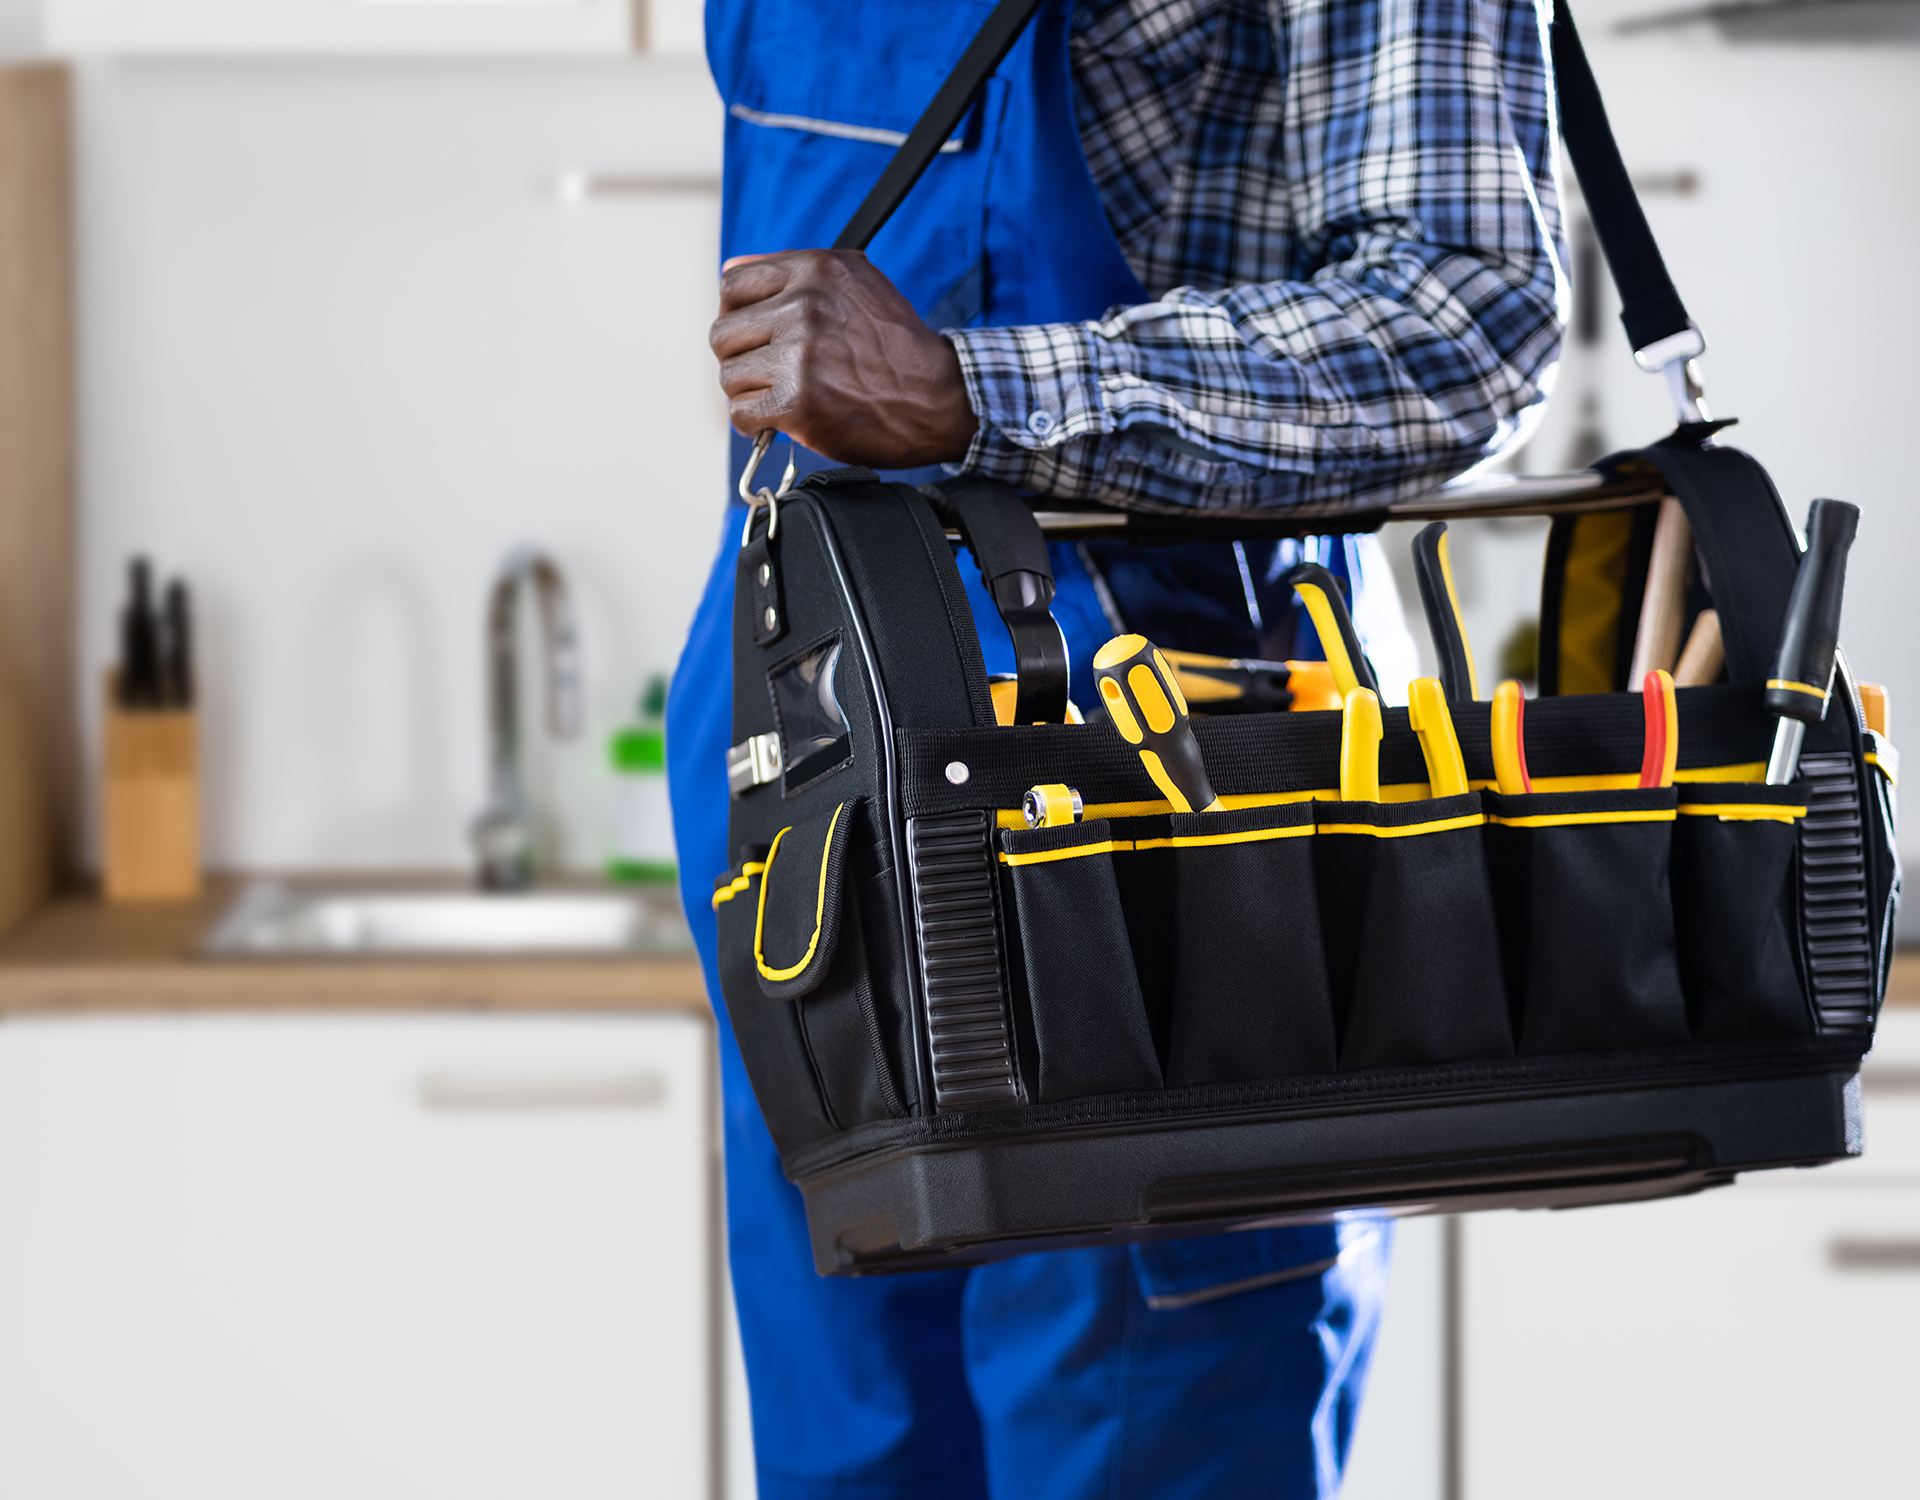
This training pack is designed to equip plumbers with practical knowledge and skills to correctly install, maintain, and troubleshoot water storage and distribution systems within households, institutions and community projects.
The goal is to improve service quality, safety, and the long-term performance of AquaSanTec products.

Training Objectives
By the end of this training, participants should be able to:
- Understand basic WASH (Water, Sanitation & Hygiene) principles
- Install water storage tanks correctly and safely
- Identify common plumbing installation errors and resolve them
- Ensure safe water flow into households and institutions
- Advise customers on proper maintenance practices
Basic WASH Principles
- Water must be stored in clean, safe and covered systems
- Contamination often occurs during storage and handling
- Proper drainage and overflow systems prevent damage and hygiene risks
- Access to safe water improves health outcomes and productivity
Water Storage Installation Guidelines
- Ensure a flat, stable and level base
- The base must be wider than the tank diameter
- Avoid soft soil or uneven surfaces
- Handle tanks carefully to avoid damage
- Position inlet, outlet, and overflow correctly
- Ensure the tank is fully supported at the base
- Use correct pipe sizes and fittings
- Seal all joints properly to avoid leakage
- Use flexible connectors where movement may occur
- Always install an overflow outlet
- Direct overflow water away from foundations
Common Installation Errors
- Placing tanks on uneven or weak bases
- Improper sealing leading to leaks
- Missing overflow outlets
- Incorrect pipe alignment causing backflow
- Over-tightening fittings leading to cracks
Maintenance Practices
- Clean tanks periodically to prevent contamination
- Inspect pipes for leaks or blockag
- Ensure lids are always closed
- Check base stability over time
Customer Guidance
- Store water in covered tanks only
- Avoid exposing tanks to direct damage or heavy impact
- Schedule regular inspections
- Use safe water handling practices
Safety Practices
- Always use proper tools during installation
- Avoid working alone on heavy installations
- Wear protective gear where necessary
- Ensure safe lifting techniques
Field Best Practices
- Confirm installation site before delivery
- Communicate clearly with customers
- Take photos before and after installation
- Ensure customer sign-off after completion
Conclusion
OUR MANUFACTURING TECHNOLOGY
What is Roto Molding?
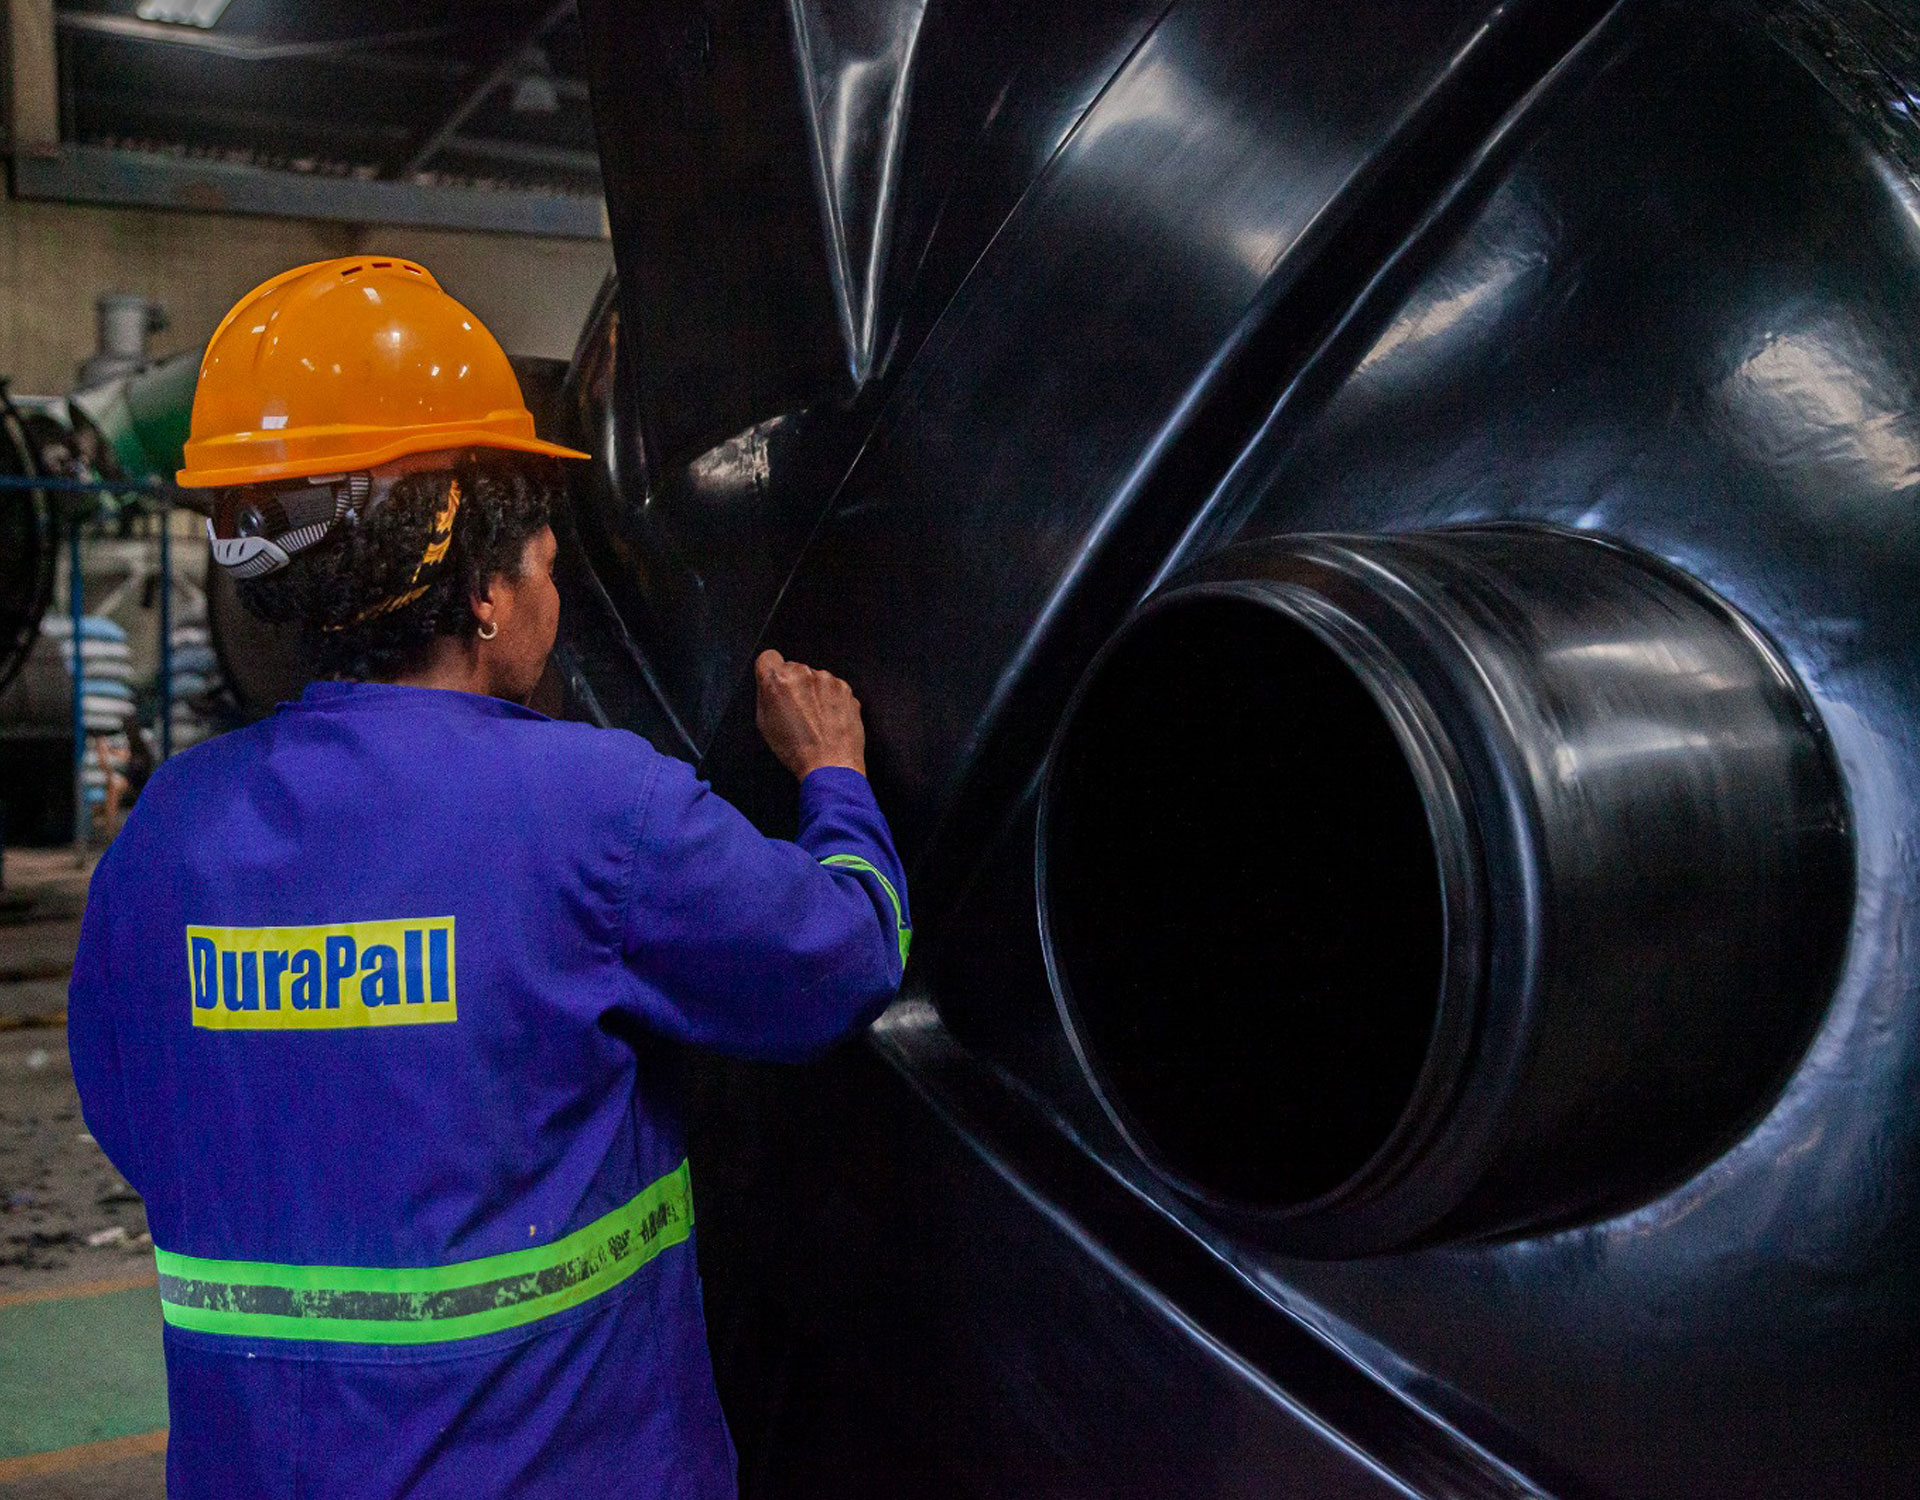
Rotational molding (commonly known as roto molding) is a plastic manufacturing process used to create hollow, one-piece plastic products.
Unlike injection or blow molding, roto molding uses heat and dual-axis rotation rather than high pressure to form the final product.
The 4-Step Process
Charging (Loading)
A measured amount of polymer powder, usually polyethylene, is loaded into a hollow mold.
Heating (Curing)
The mold is closed and moved into a large oven where it rotates continuously on two perpendicular axes. As the mold heats up, the powder melts and coats the inner wall uniformly.
Cooling
While still rotating, the mold moves into a cooling chamber where air or water mist solidifies the plastic into its final shape.
Demolding (Unloading)
The mold is opened and the finished hollow product is removed.
The 4-Step Process
Charging (Loading)
A measured amount of polymer powder, usually polyethylene, is loaded into a hollow mold.
Heating (Curing)
The mold is closed and moved into a large oven where it rotates continuously on two perpendicular axes. As the mold heats up, the powder melts and coats the inner wall uniformly.
Cooling
While still rotating, the mold moves into a cooling chamber where air or water mist solidifies the plastic into its final shape.
Demolding (Unloading)
The mold is opened and the finished hollow product is removed.
Key Advantages of Roto Molding
Stress-Free Parts
Because the process does not use high pressure, the molded plastic has virtually no residual stress, making the products highly durable and crack-resistant.
Uniform Wall Thickness
Low Tooling Costs
Complex & Seamless Designs
Water Tank Installation Guide
Recommended Installation Guidelines
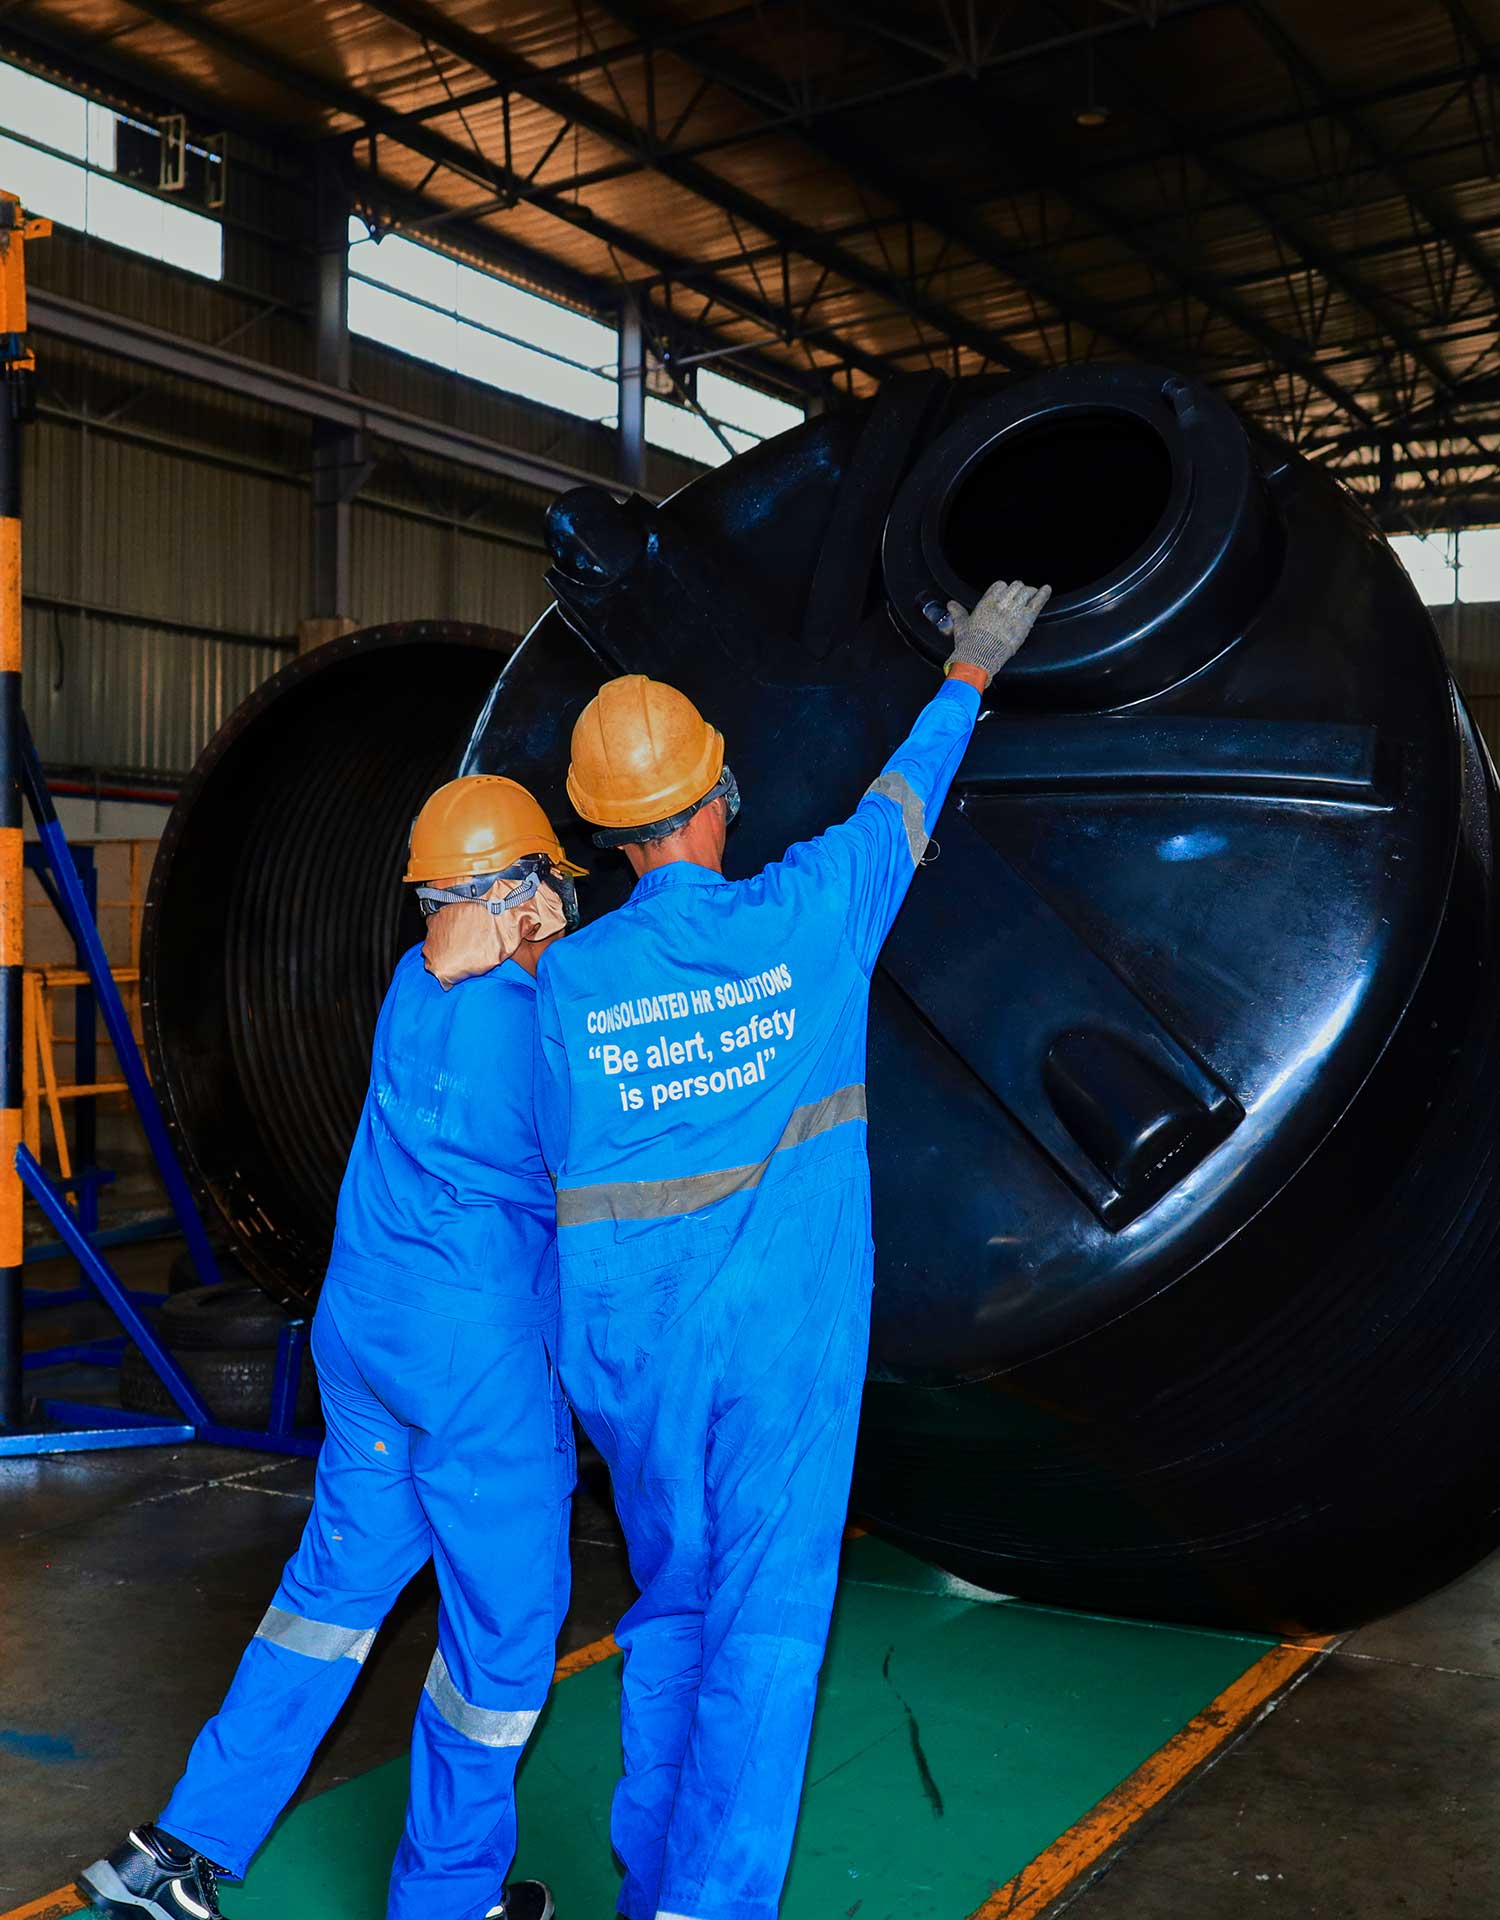
- Stand the tank on a fully supported flat base with no gaps.
- Drill inlet and outlet connections only at specified locations.
- Always provide an overflow and proper drainage away from the tank base.
- Replace outlet rubber washers every two years.
- Use flexible pipes for interconnections where necessary.
- Ensure installation is done on a completely flat surface.
Installation Precautions
- Do not make holes using a hot rod.
- Do not leave gaps between planks if using a wooden base.
- Do not use blocks with spaces as a tank base.
- Do not place stones or wood beneath the tank base.
Maintenance Guidelines For Roto Plastic Water Tanks
1. Regular Cleaning Schedule
- Do not drag tanks on rough surfaces.
- Do not install tanks on uneven ground.
- Do not expose empty tanks to excessive heat for long periods.
- Avoid chemical storage unless the tank grade is approved.
- Do not overtighten fittings, as this may crack the threaded area.
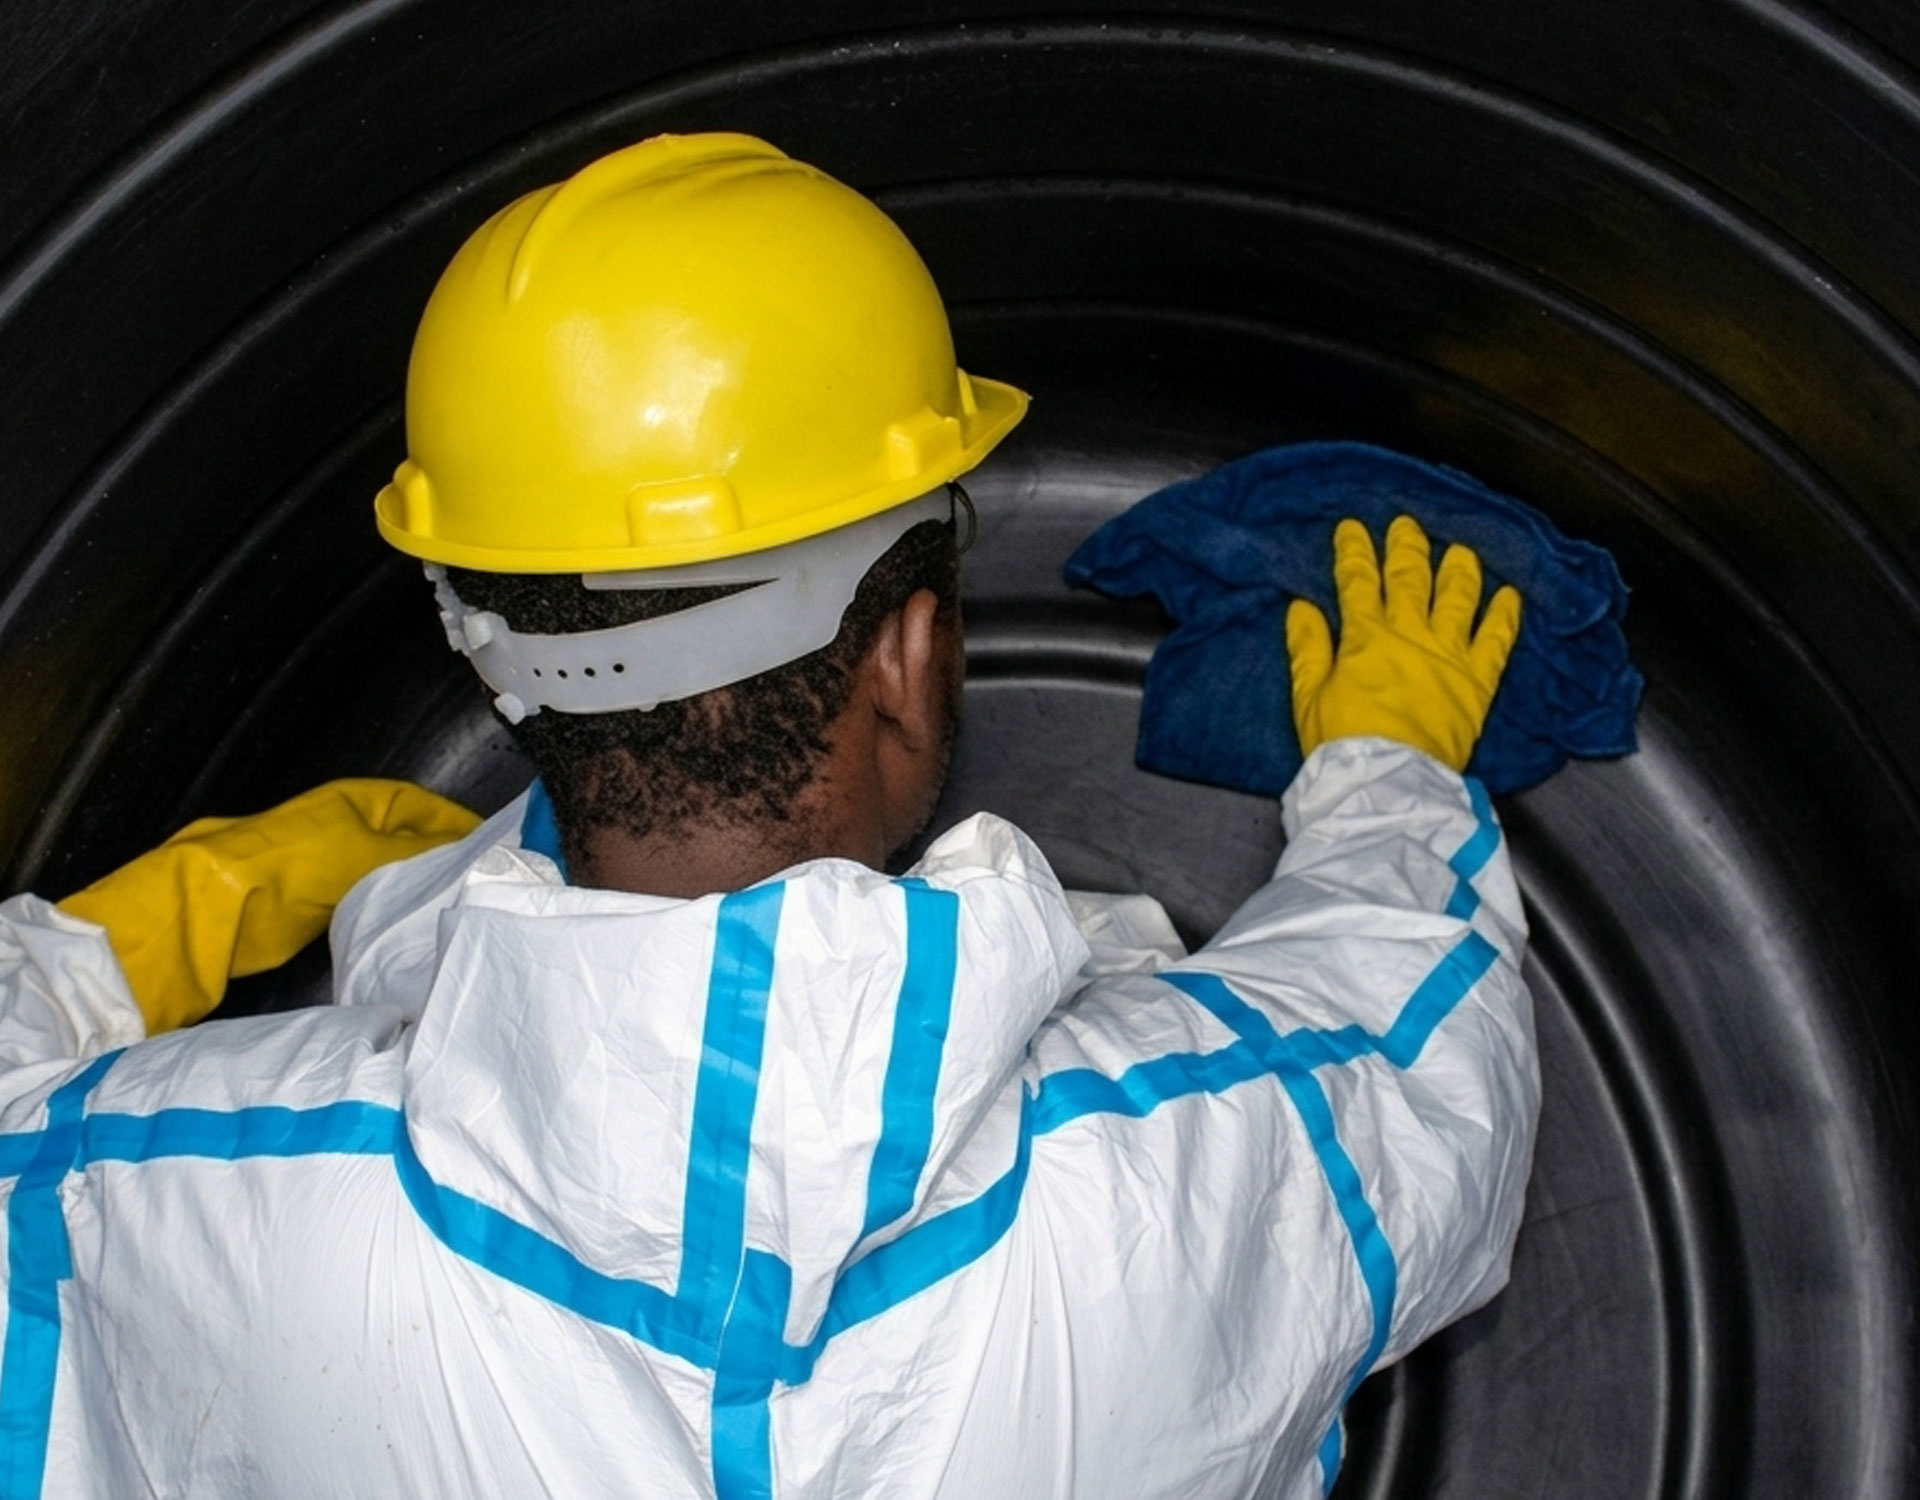
2. Tank Cleaning Procedure
- Empty the tank completely.
- Remove dirt and sludge manually.
- Wash inside walls using a soft brush or cloth.
- Use a mild chlorine solution for disinfection.
- Rinse thoroughly with clean water.
- Close the lid properly after cleaning.
3. Important Do’s
- Keep the tank lid tightly closed.
- Install the tank on a flat, strong, and level platform.
- Use proper support structures for large tanks.
- Protect tanks from sharp objects and mechanical damage.
- Ensure overflow and vent pipes are properly fitted.
- Maintain proper inlet and outlet tightening to avoid leakage.
4. Important Don’ts
- Do not drag tanks on rough surfaces.
- Do not install tanks on uneven ground.
- Do not expose empty tanks to excessive heat for long periods.
- Avoid chemical storage unless the tank grade is approved.
- Do not overtighten fittings, as this may crack the threaded area.